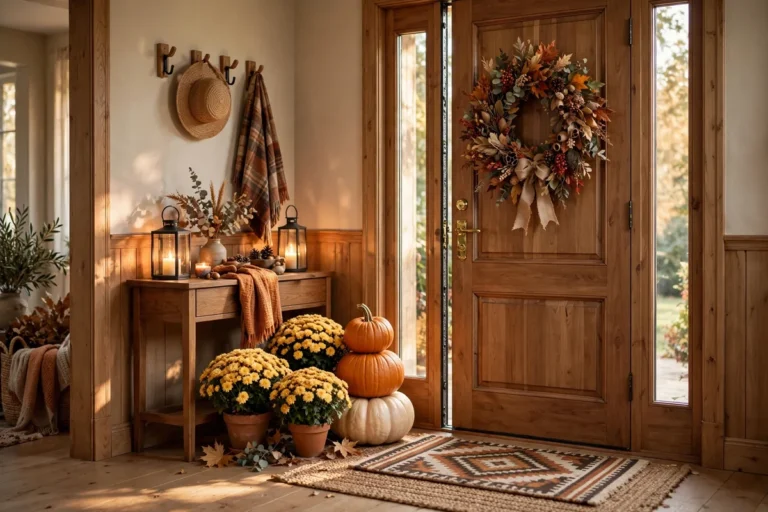
12 DIY Halloween Decor Ideas on a Budget
Good diy halloween decor ideas do not need a big budget or a craft room full of supplies. Paper, old jars, leftover fabric, branches from the yard, and a few battery tea lights cover most of what follows, and each project takes an afternoon at most. The trick is picking a simple palette — black, white, and orange, or black and cream for a calmer look — and repeating it from the porch to the mantel so the house feels planned rather than cluttered. For more proof that homemade beats store-bought, see these DIY Halloween decorations for any style from Apartment Therapy.
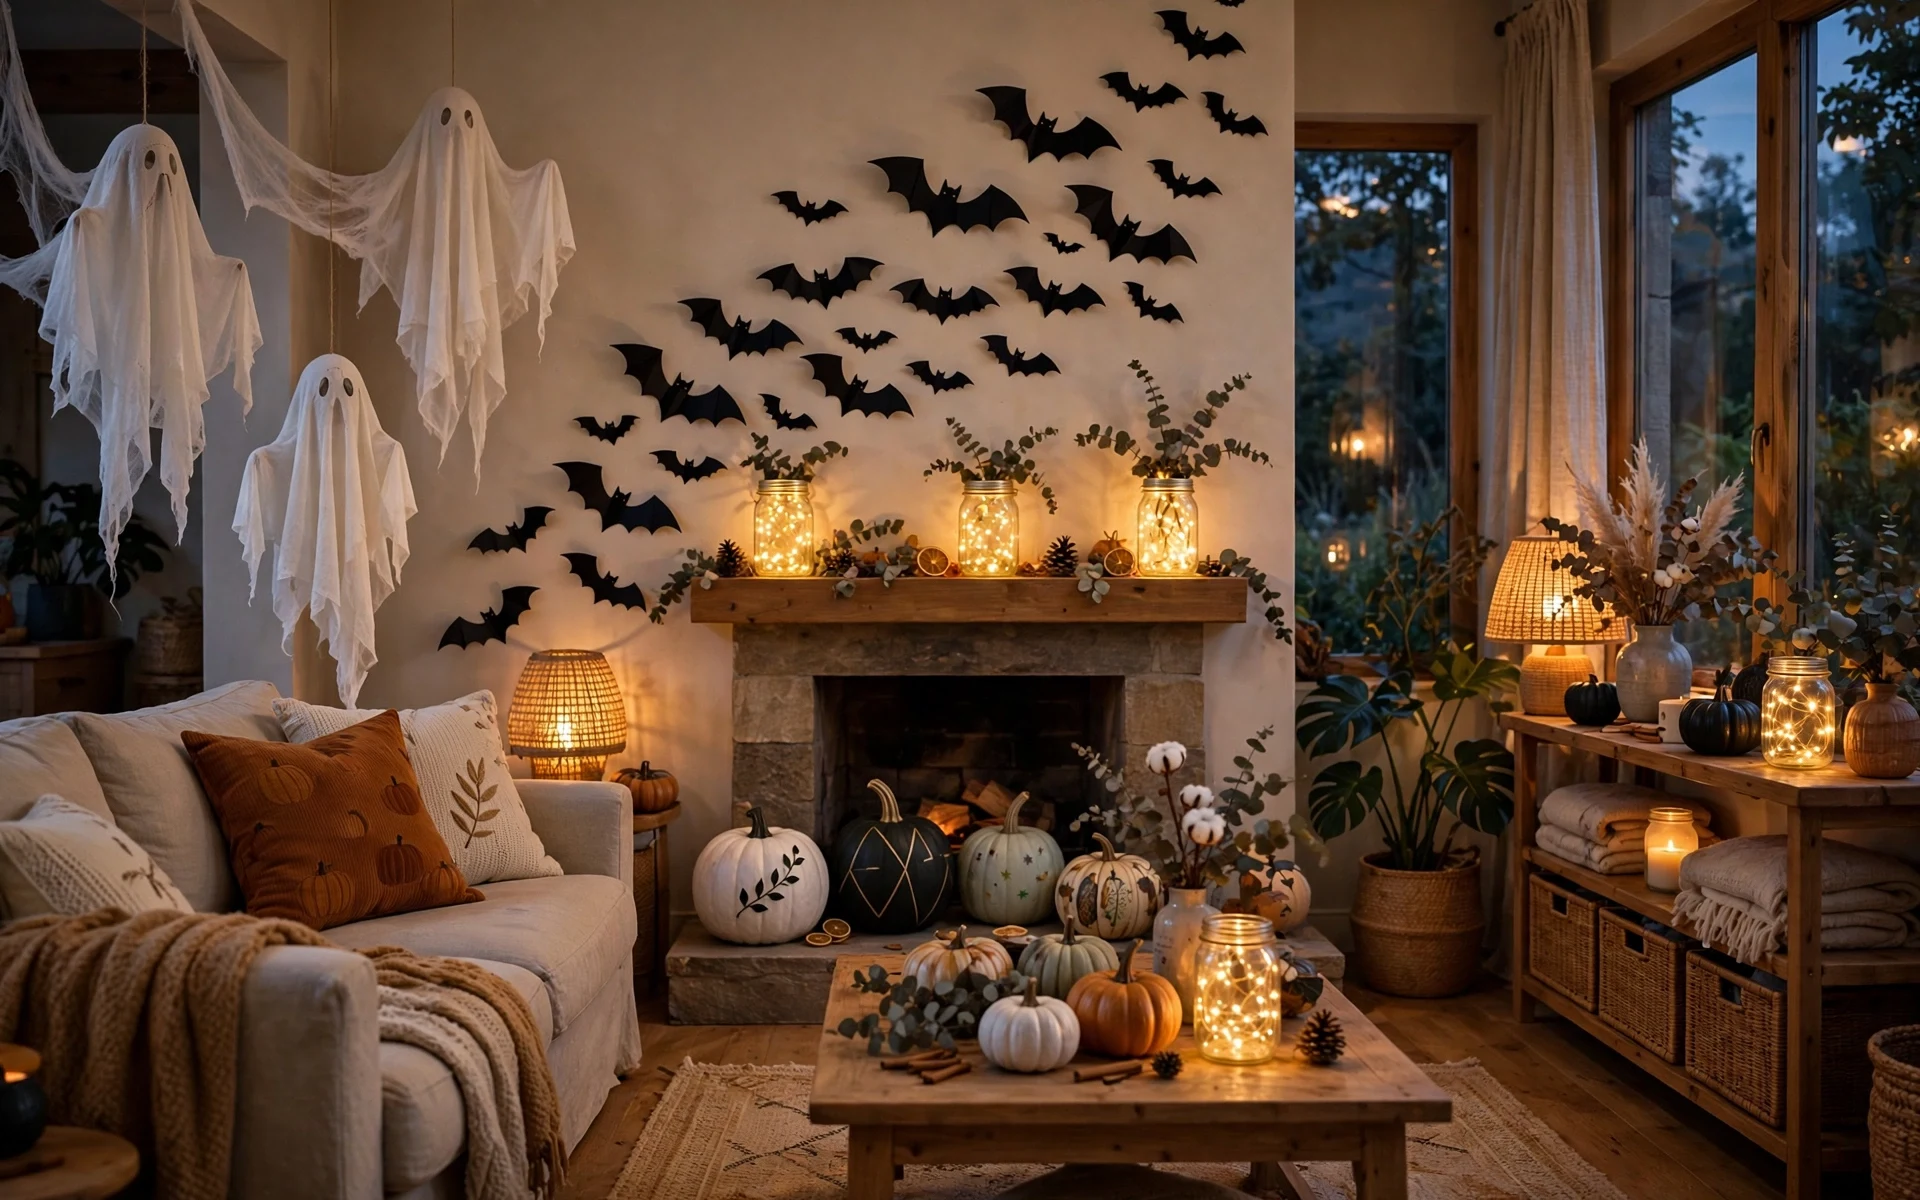
Paper Bats: DIY Halloween Decor That Fills a Whole Wall
A swarm of paper bats is the highest-impact project on this list for the lowest cost. Cut bat shapes in three sizes from black card stock — a simple printed template keeps them consistent — then fold each one slightly down the center so the wings lift off the wall. Arrange them in a loose, rising curve above a sofa, doorway, or staircase, starting dense and letting them thin out at the edges. Use removable putty or painter’s tape dots so the paint stays safe. Thirty to fifty bats fill a standard wall nicely. Save the template and the bats in a labeled envelope and they will last for several Halloweens with careful handling. Cut the largest bats first and use the offcuts for the smallest ones to waste as little card as possible.
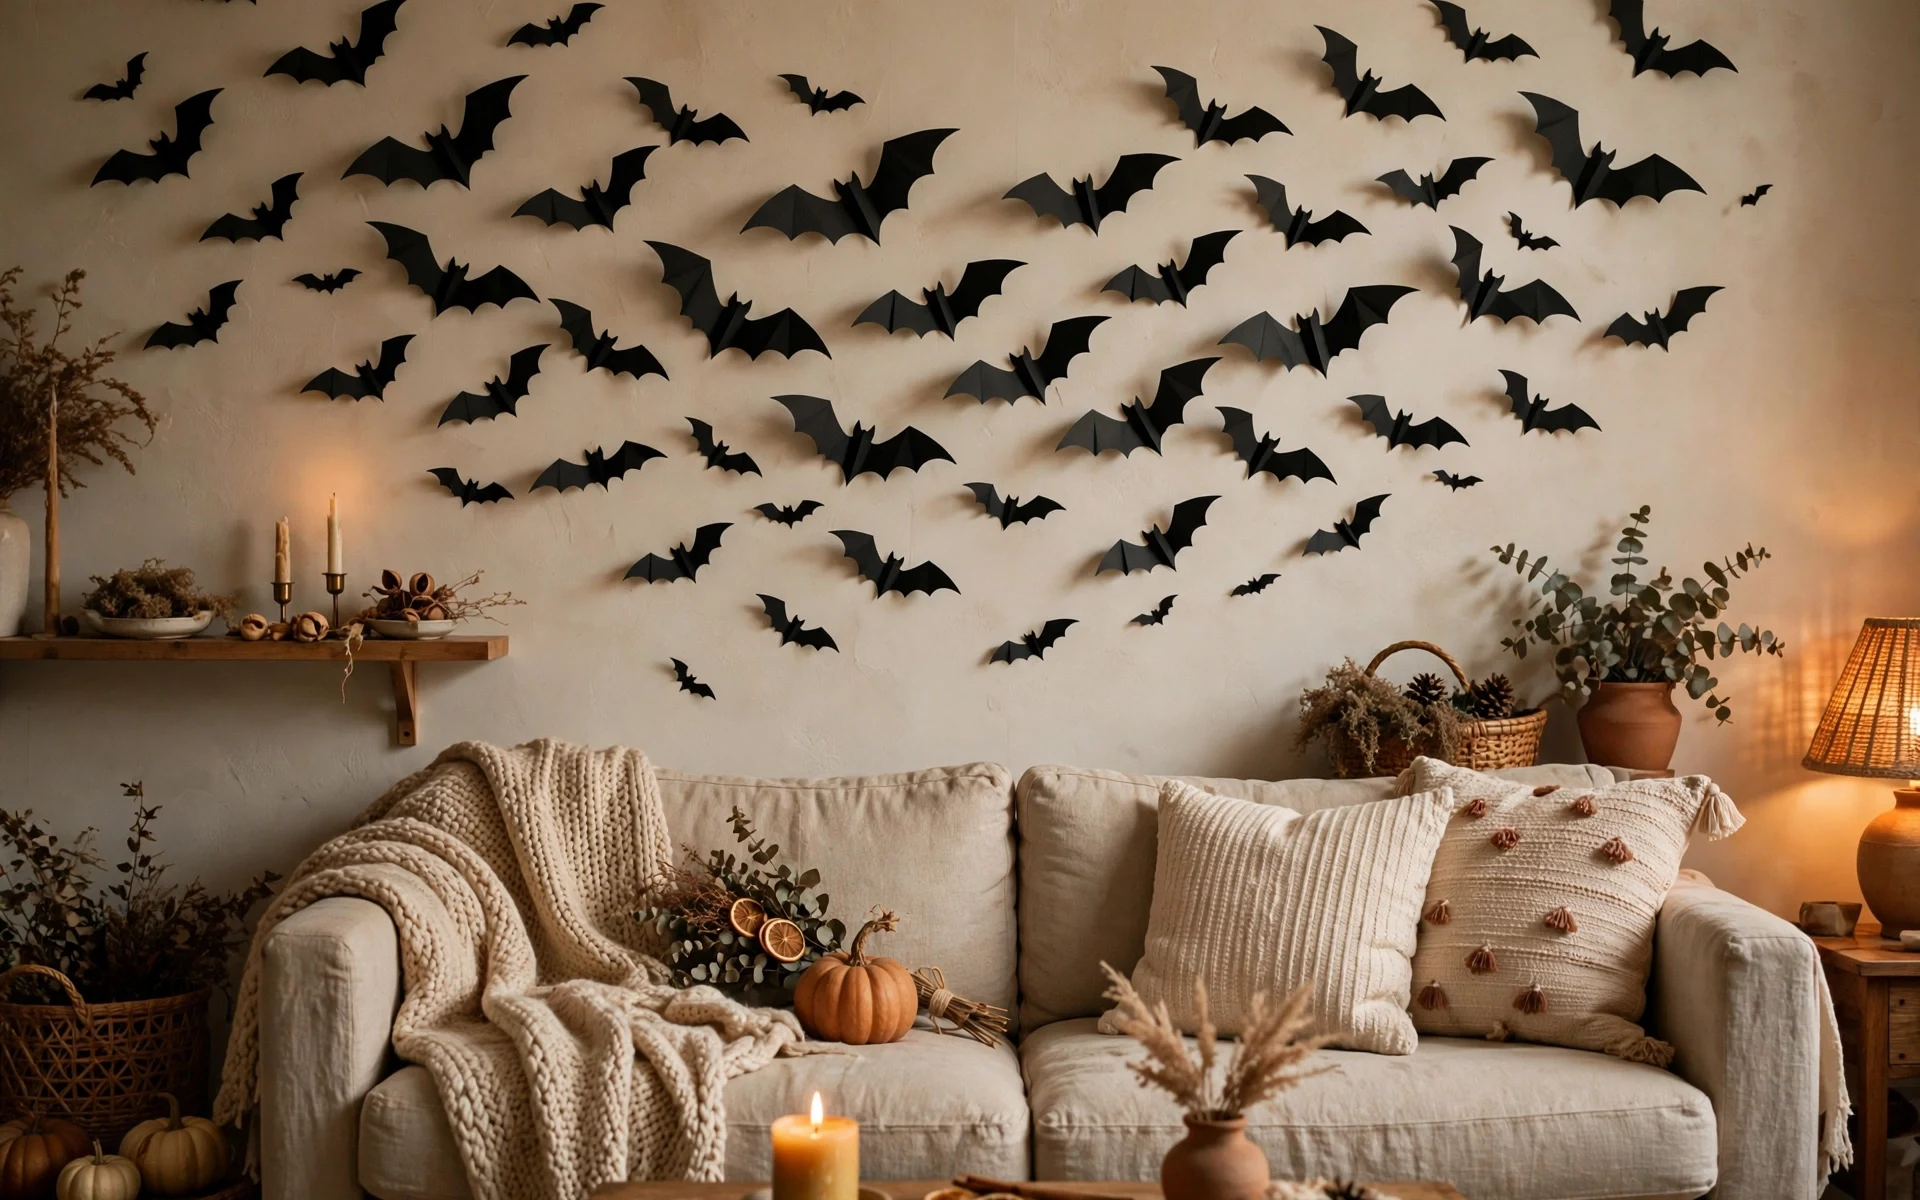
Mason Jar Lanterns: DIY Halloween Decor With Silhouette Faces
Save jam jars and pasta sauce jars for a few weeks and you have free lanterns. Wash them well, remove the labels with warm soapy water, then paint the outside with a thin coat of orange, white, or frosted acrylic paint. While it dries, cut simple faces, moons, or bat shapes from black paper and glue them to the outside, or draw them on with a black paint pen for a cleaner edge. Drop in a battery tea light — never a real flame inside a painted jar — and line three or five along a windowsill, mantel, or front steps. Group jars of different heights together, and wipe the paint gently with a dry cloth when you pack them away. Test one finished jar after dark before painting the rest, so you can adjust the coat thickness first.
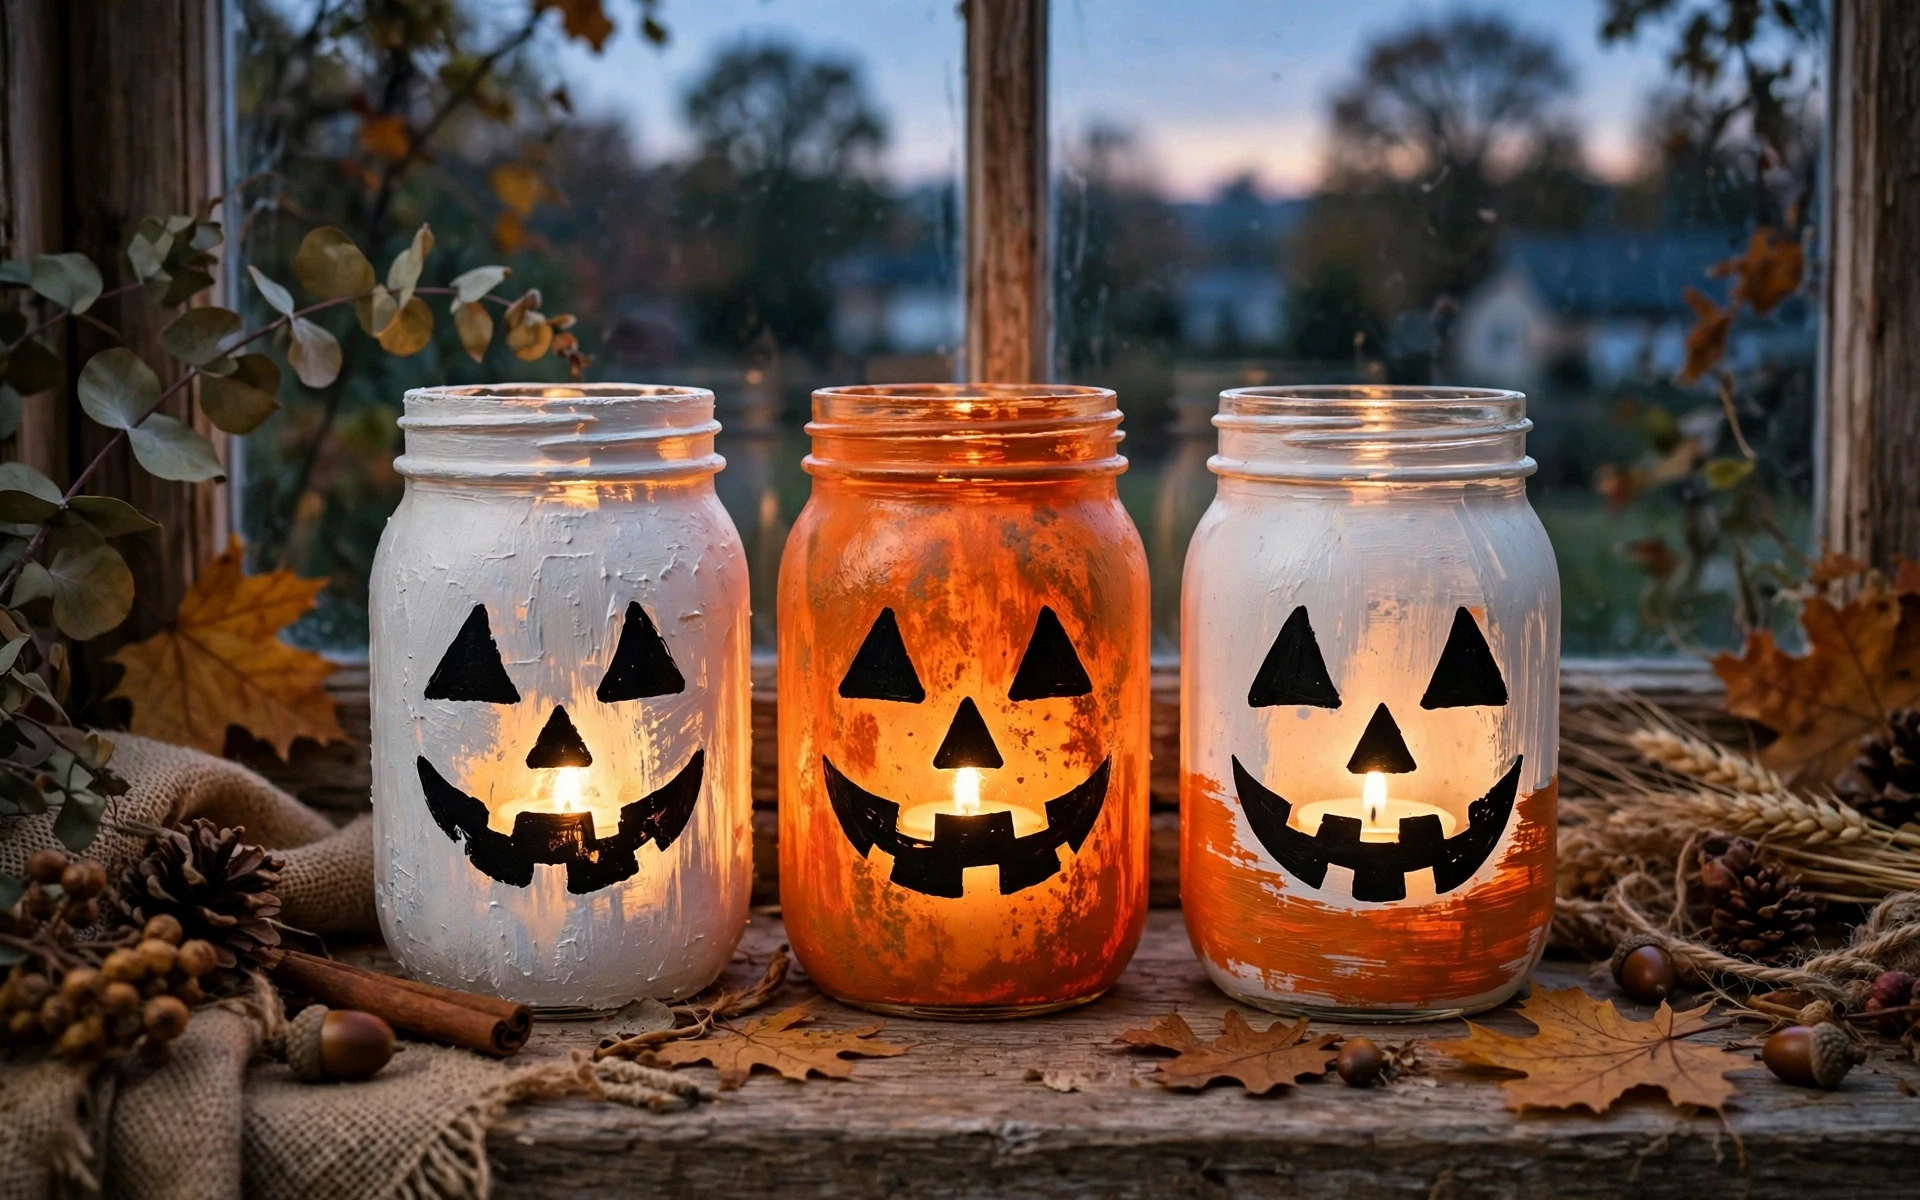
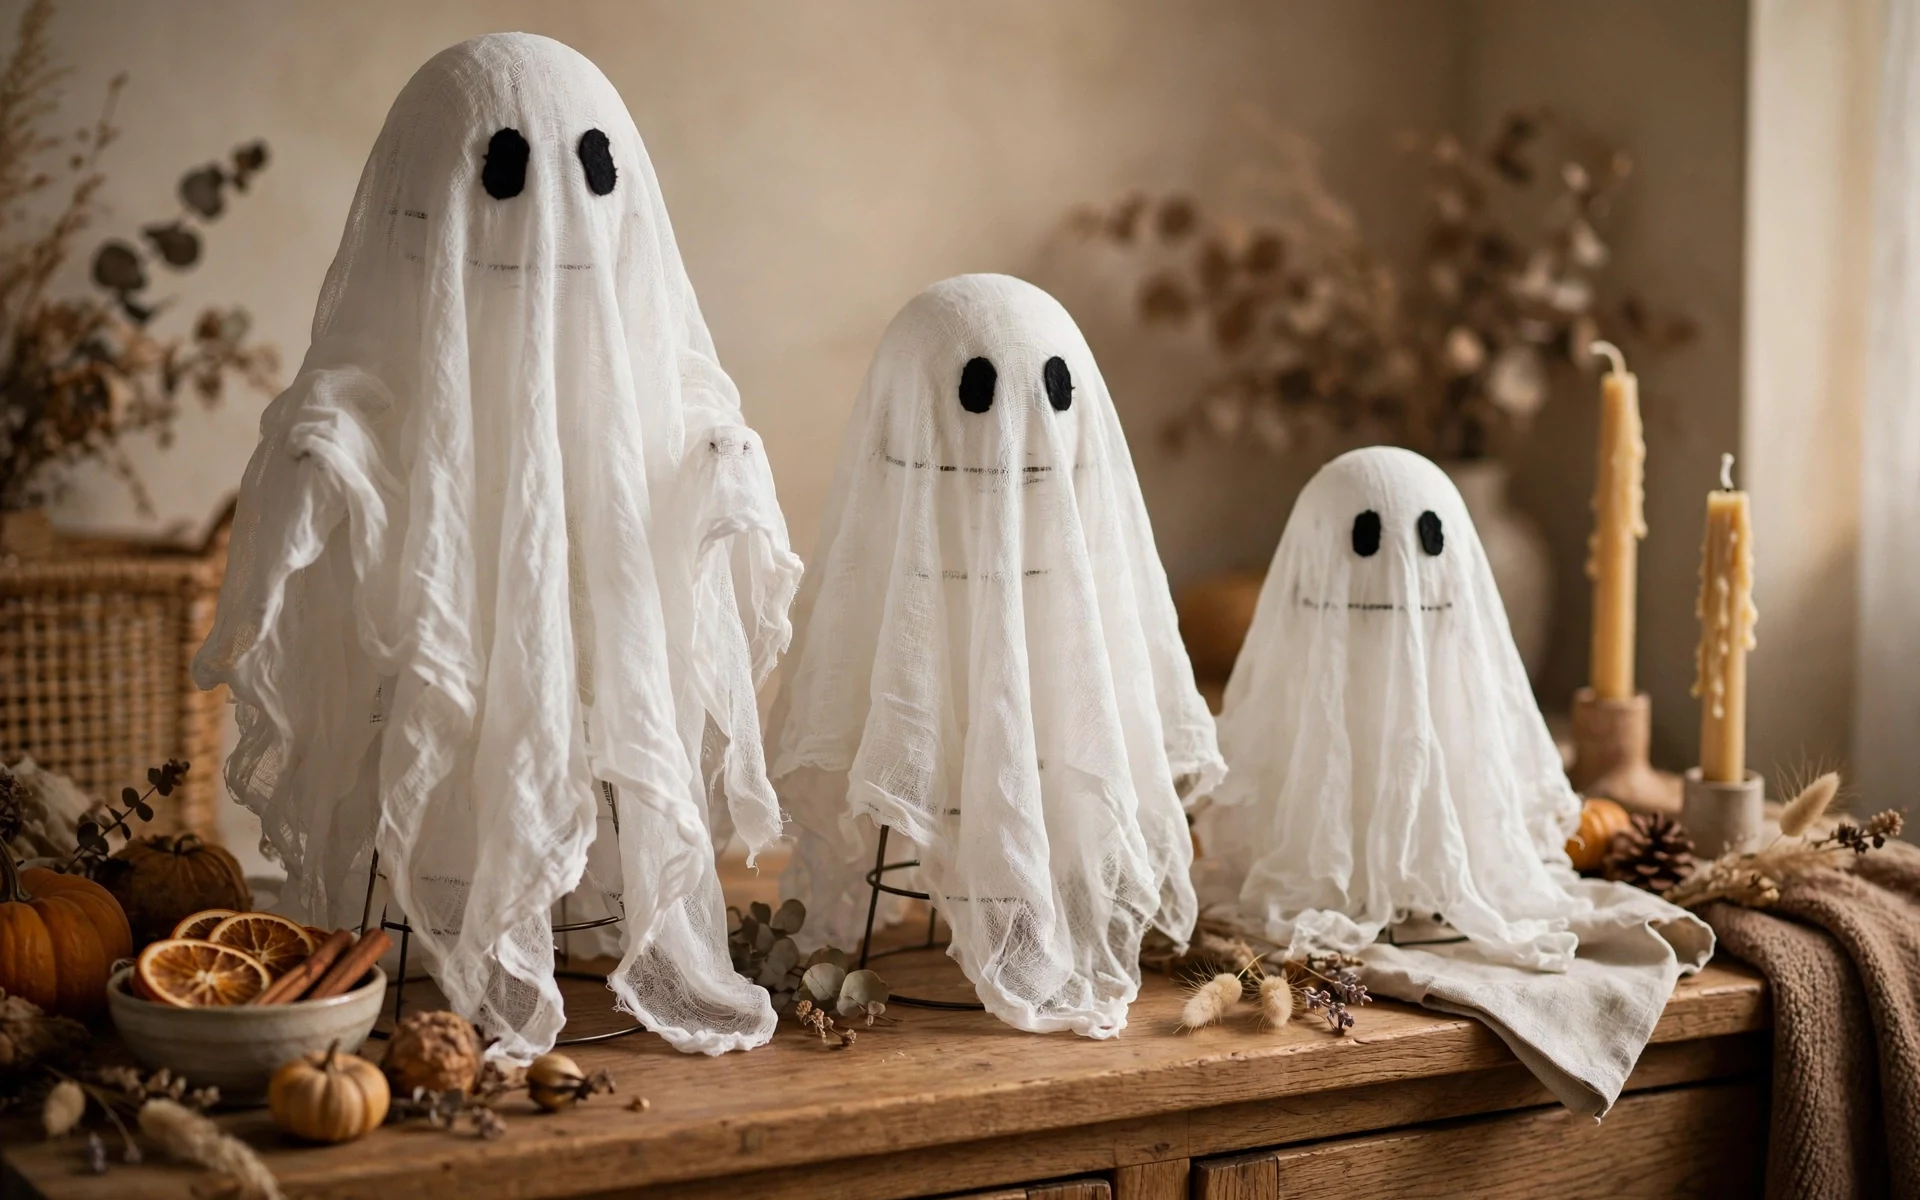
Cheesecloth Ghosts: DIY Halloween Decor That Stands on Its Own
These small ghosts look impressive and use supplies most kitchens already have. Blow up a small balloon or scrunch a ball of newspaper for a head, set it on top of a bottle, and drape a square of cheesecloth soaked in a half-and-half mix of white glue and water over the form. Let it dry overnight, pop the form out, and the ghost keeps its shape. Add two black felt eyes with a dot of glue. Make a family of them in different heights — roughly 6, 9, and 12 inches — and cluster them on a sideboard or bookshelf. Store them upright in a box with tissue between each ghost so the cloth does not crush flat. Work over newspaper or a tray, since the glue mixture drips while the cloth is still wet.
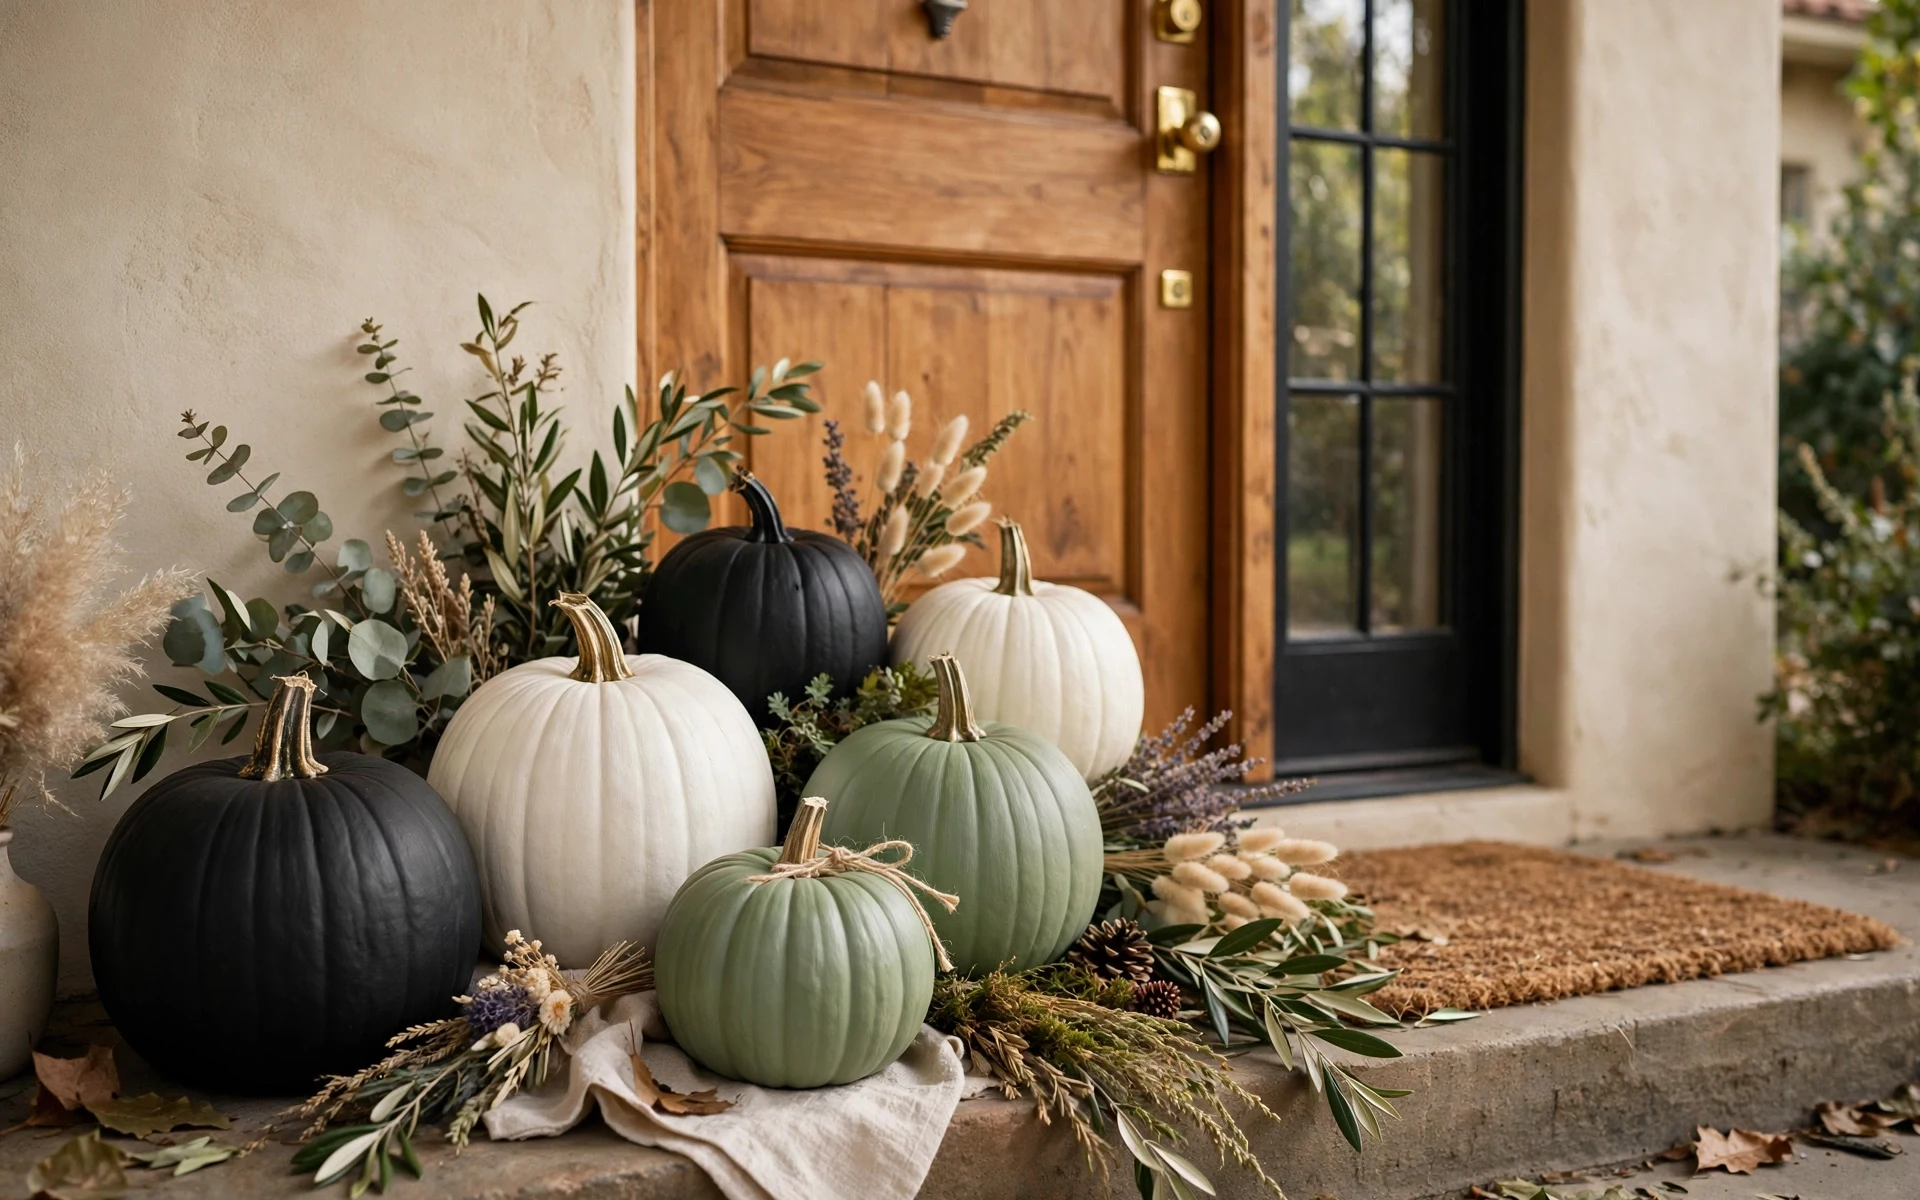
No-Carve Painted Pumpkins: DIY Halloween Decor That Lasts Longer
Painted pumpkins skip the mess, the sharp tools, and the short life of carved ones. Wipe real or foam pumpkins clean, let them dry, then paint them matte black, creamy white, or soft sage for a calmer display, leaving the natural stem unpainted for contrast. Add simple details with a paint pen — thin stripes, small dots, a crescent moon, or a checked pattern around the middle. Foam pumpkins store well and can be reused next year; real painted pumpkins still last far longer than carved ones because the skin stays sealed. Group three sizes together by the front door or on the hearth, and keep real pumpkins out of strong sun so the paint does not bubble. A second light coat covers thin spots better than one thick coat, which can crack as it dries.
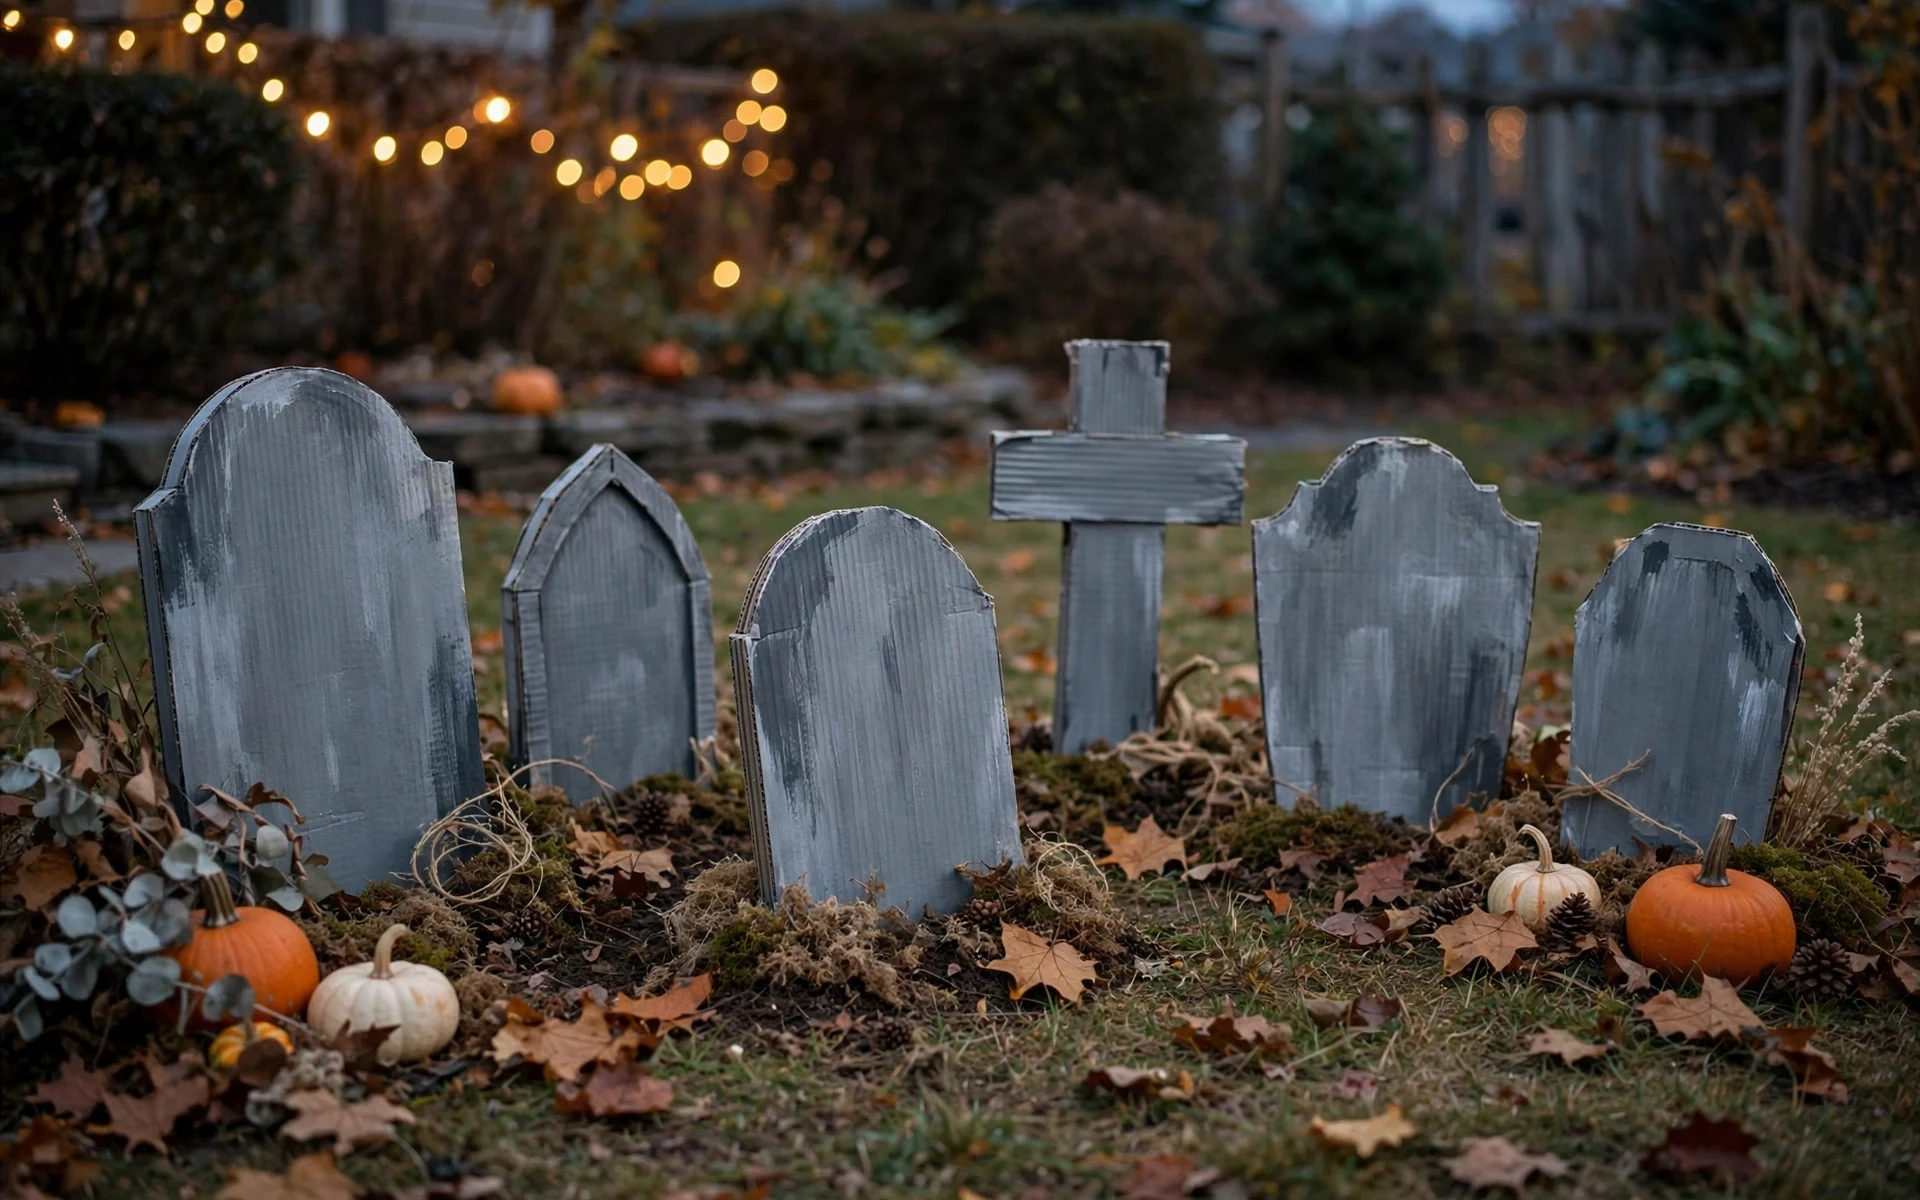
Cardboard Tombstones: DIY Halloween Decor for the Front Yard
A few large delivery boxes become a yard graveyard in one afternoon. Cut tombstone shapes from flattened cardboard — rounded tops, squared tops, and one cross shape for variety — then paint them gray and dry-brush a lighter gray or white over the surface so the edges catch the light. Add simple lettering with a thick black marker and keep the wording playful rather than gory. Tape or glue a wooden paint stirrer or a short stake to the back and push it into the soil. Cardboard will not survive heavy rain, so bring the stones in on wet nights or cut replacements from foam board if your October weather is rough. Stand the finished stones up indoors overnight so the paint cures fully before they face outdoor air.
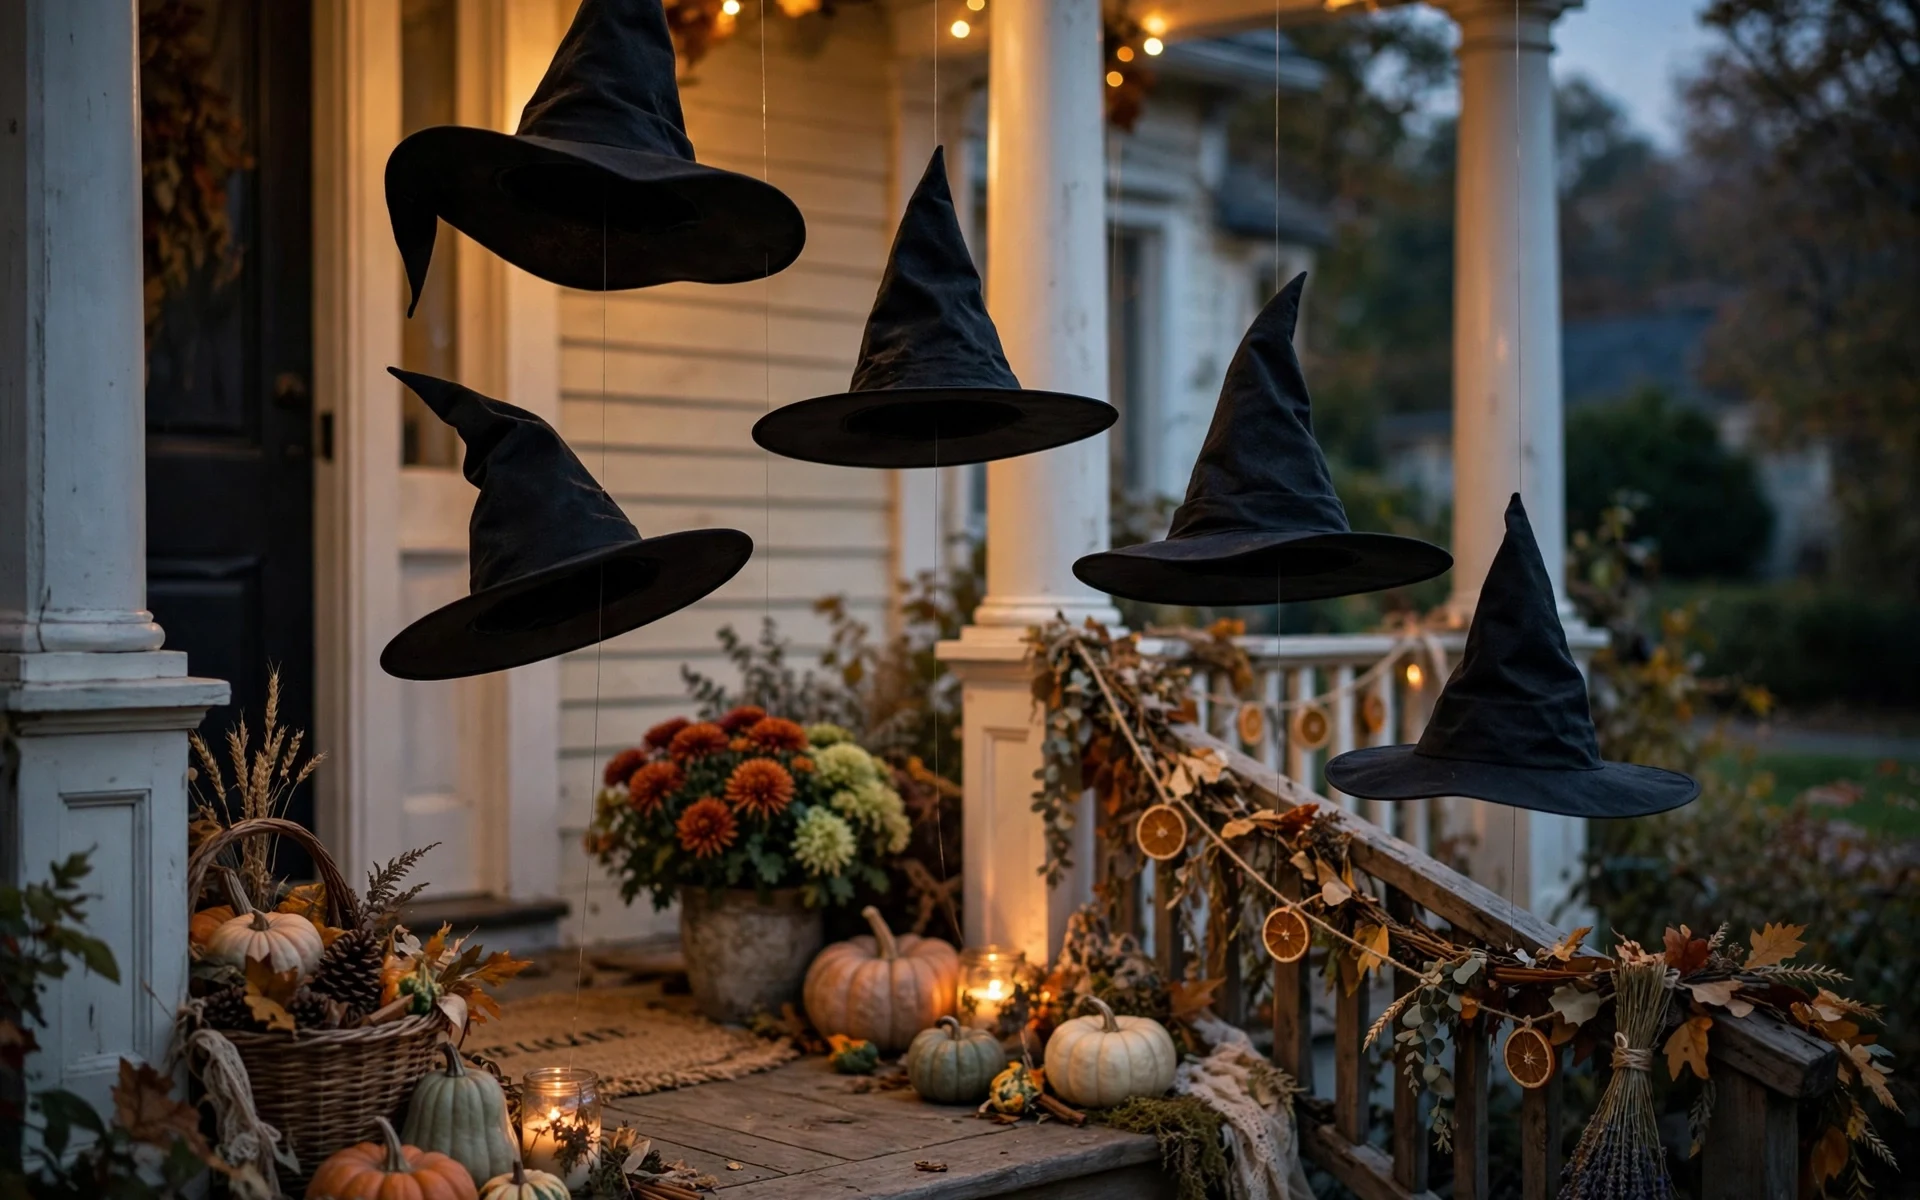
Floating Witch Hats Over a Porch or Table: DIY Halloween Decor
Lightweight witch hats hung on clear fishing line look like they are hovering in mid-air. Thread the line through the tip of each hat with a needle, tie a small loop, and hang the hats at staggered heights from a porch ceiling, a curtain rod, or a removable hook above the dining table. Three to five hats are plenty — odd numbers arrange more naturally. Slip a battery tea light or a small glow stick inside each hat for evening parties, checking the weight first so the line holds. This is one of those diy halloween decor ideas guests photograph most, and the hats fold flat for storage in a single drawer afterward. Keep spare batteries with the hats in storage so next year the display works straight from the box.
Yarn and Cheesecloth Spider Webs, Done Well
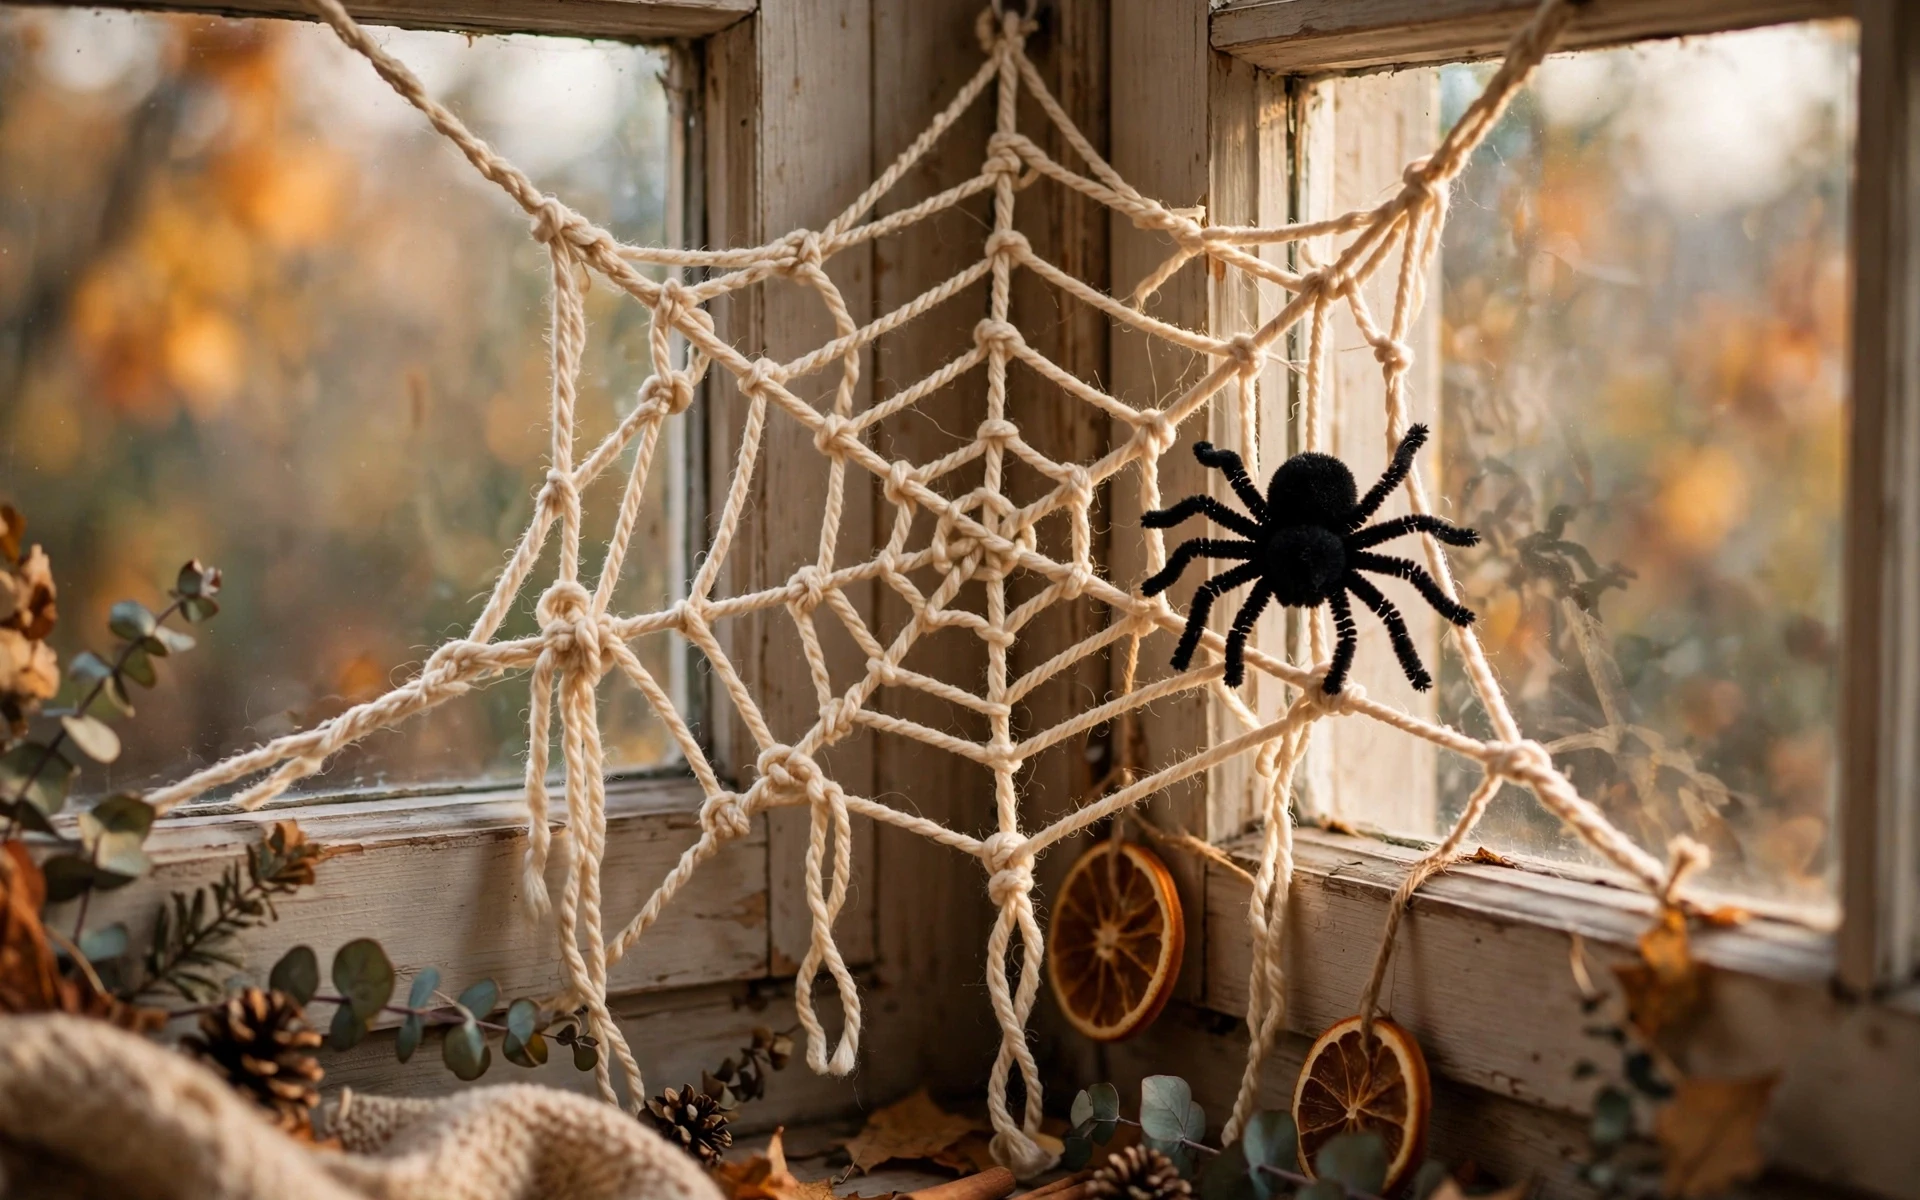
Store-bought webbing looks best in thin layers, and homemade versions follow the same rule. For a yarn web, tape or pin a simple frame of crossed lines in a corner or window, then loop yarn around the frame in shrinking circles, tying a small knot at each crossing. Add one well-made spider — a black pom-pom body with pipe-cleaner legs — rather than five small plastic ones. For cheesecloth webs, stretch and tear the cloth into long, uneven strands and drape them over a mantel, mirror, or chandelier. Pull the strands thin; thick clumps read as laundry, not cobwebs. Both versions come down in minutes and leave no residue behind. Photograph the finished web before taking it down so you can rebuild the same shape next year.
Potion Bottles From Old Jars and Bottles
Save interesting bottles — vinegar, olive oil, old perfume, and medicine bottles all work — wash them, and fill them with water tinted by a drop of food coloring in green, amber, or deep red. Print or hand-write simple labels on plain paper, tear the edges, and brush the paper lightly with strong tea for an aged look before gluing it on. Group the bottles on a tray with a few dried herbs, a small candle, and a stack of old books. Keep the group tight; a loose row reads as recycling waiting to go out. Set the tray near a wall or mirror so the colored bottles catch light and read more clearly.

A Mantel Built From Books, Candles, and Branches
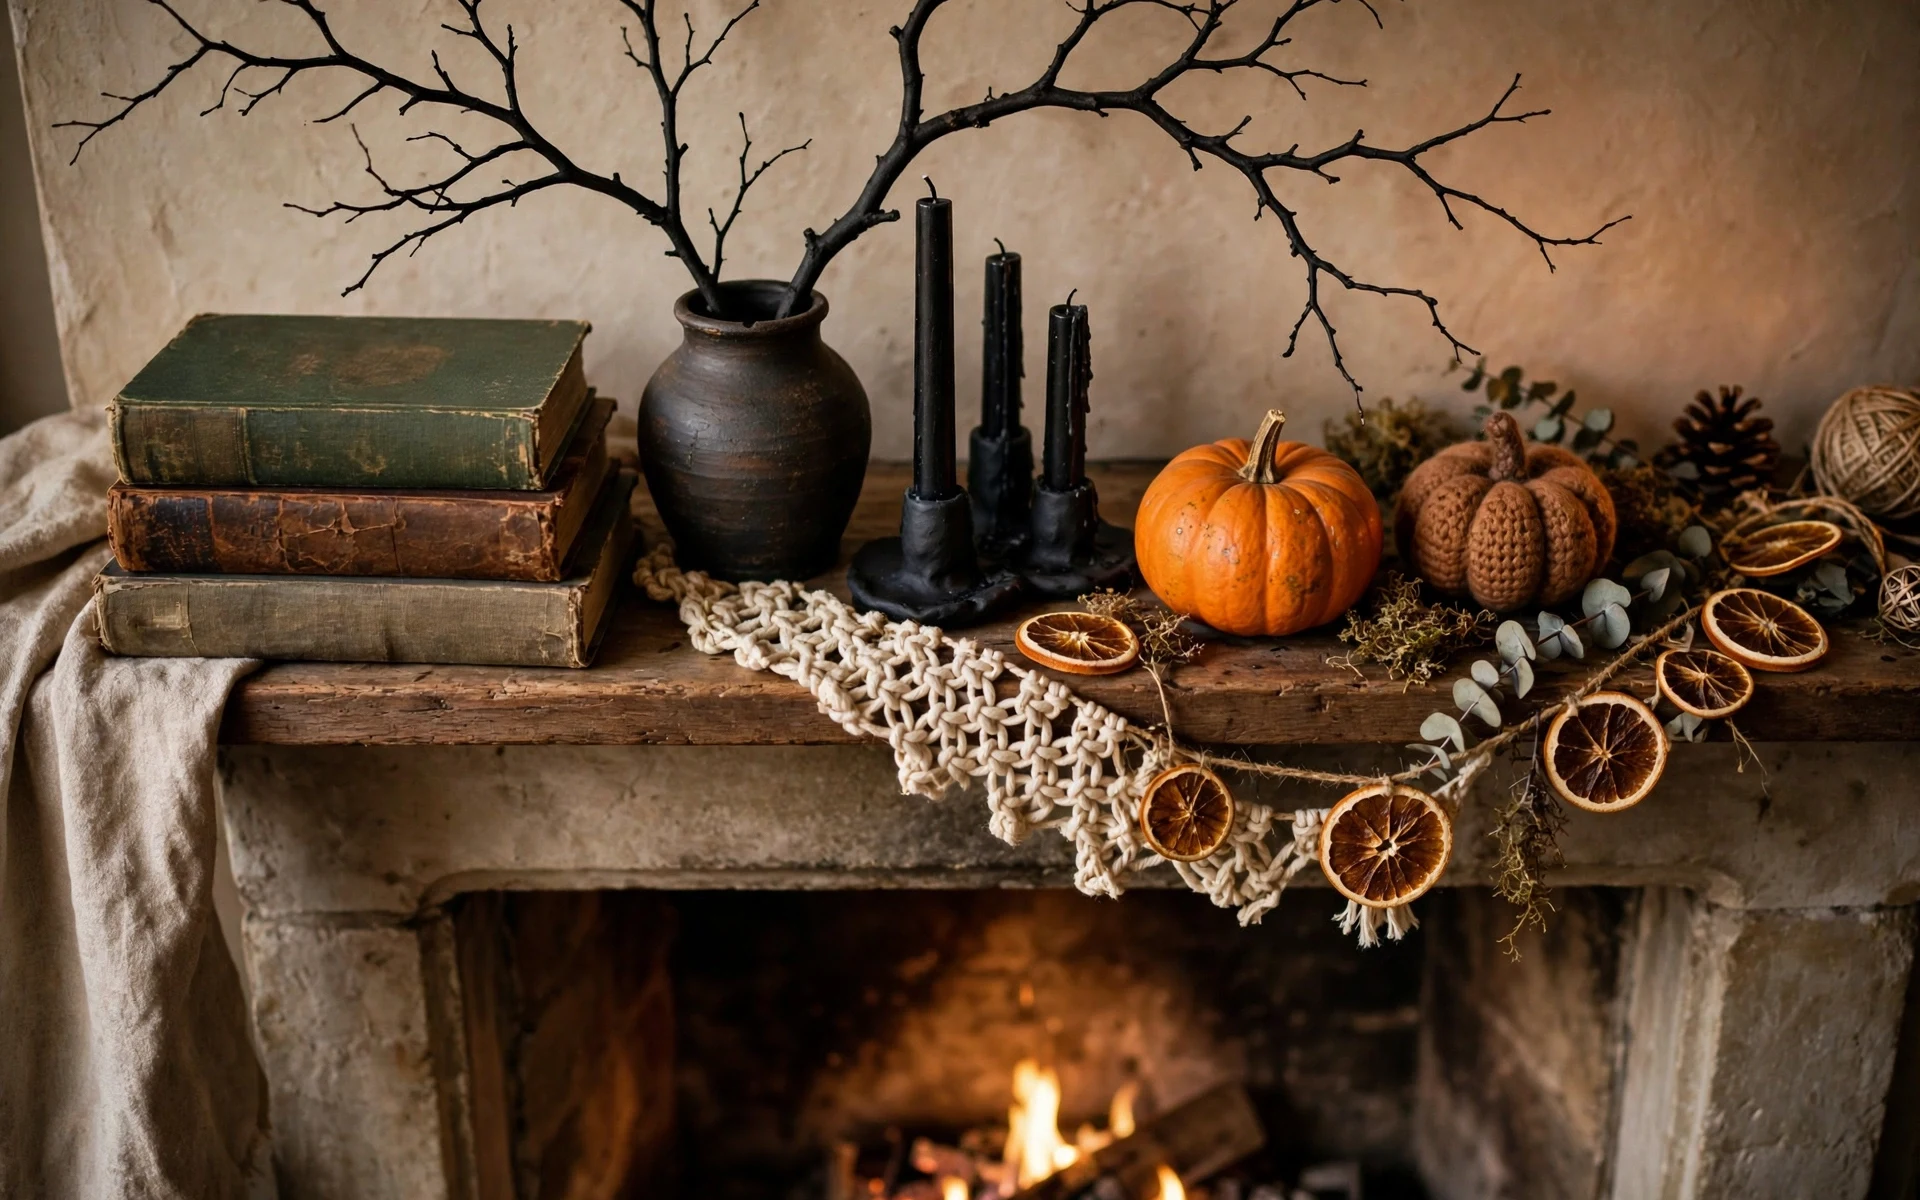
You may not need to buy anything for a strong mantel display. Stack old hardcover books with dark spines in two short piles, top one pile with a small pumpkin and the other with a black candle in a holder you already own, then lay a bare branch — cleaned and left natural, or sprayed matte black — across the back. Drape a single strand of cheesecloth loosely over one corner. Keep the arrangement low in the middle if a mirror or artwork hangs above it. This calm, collected style suits homes that want a seasonal nod without plastic everywhere, and it pairs well with the other displays in our halloween mantel ideas guide. Leave the fireplace itself clear and usable, and keep candles well away from the draped cheesecloth.
Window Silhouettes That Glow After Dark
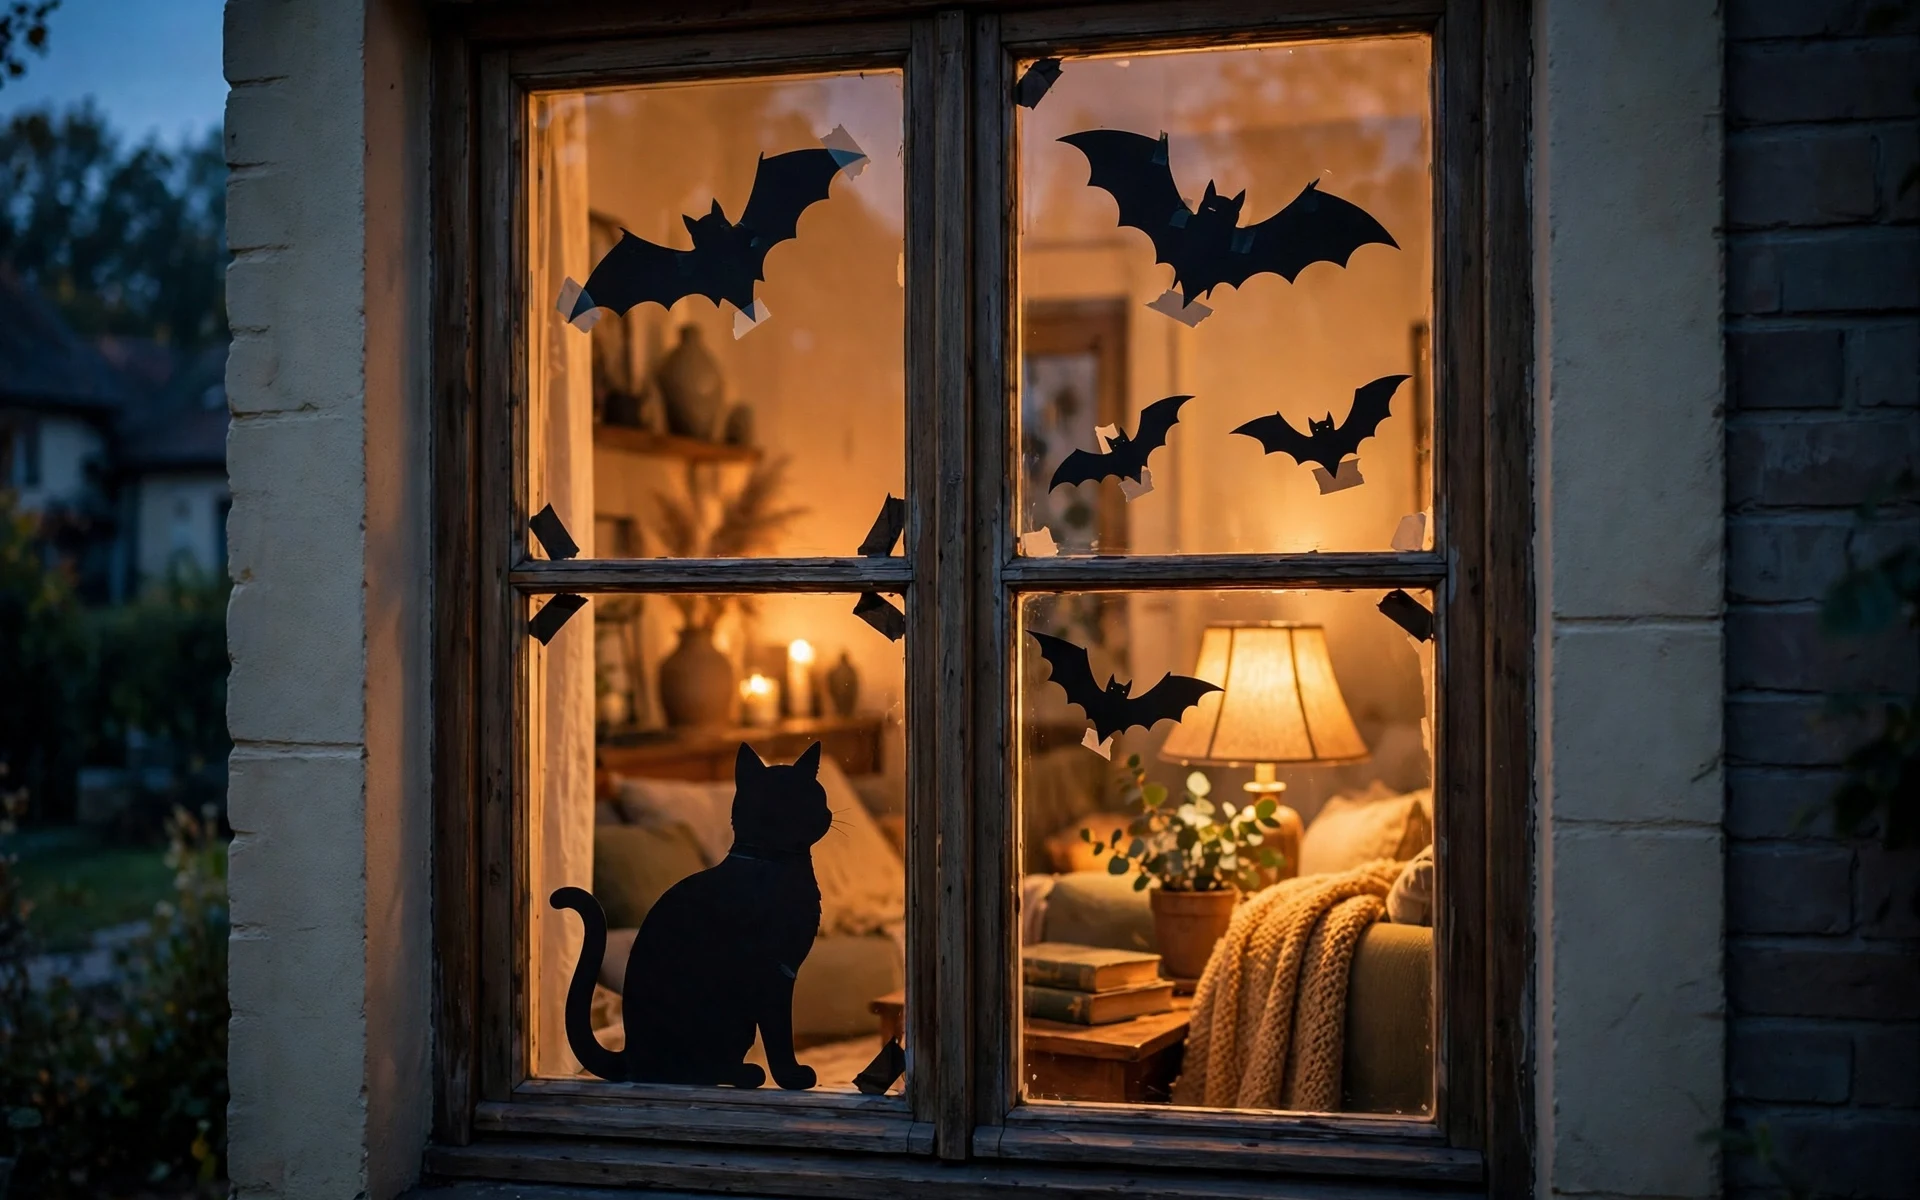
Black paper silhouettes taped inside a window cost almost nothing and read clearly from the street. Cut a cat, a witch, a row of bats, or a haunted house shape from black card stock or a cut-open black trash bag for larger windows, and tape the edges to the glass with clear tape. Draw the curtains or close the blinds behind the shapes and leave a warm lamp on in the room — the silhouettes turn bold and sharp as soon as it gets dark. Measure the window first and sketch the shape to size on newspaper before cutting the good paper. For more shapes and placement tips, see these halloween window decor ideas. Test the display from the street after dark and trim any edges that curl away from the glass.
Paper Bag Luminaries for the Walkway
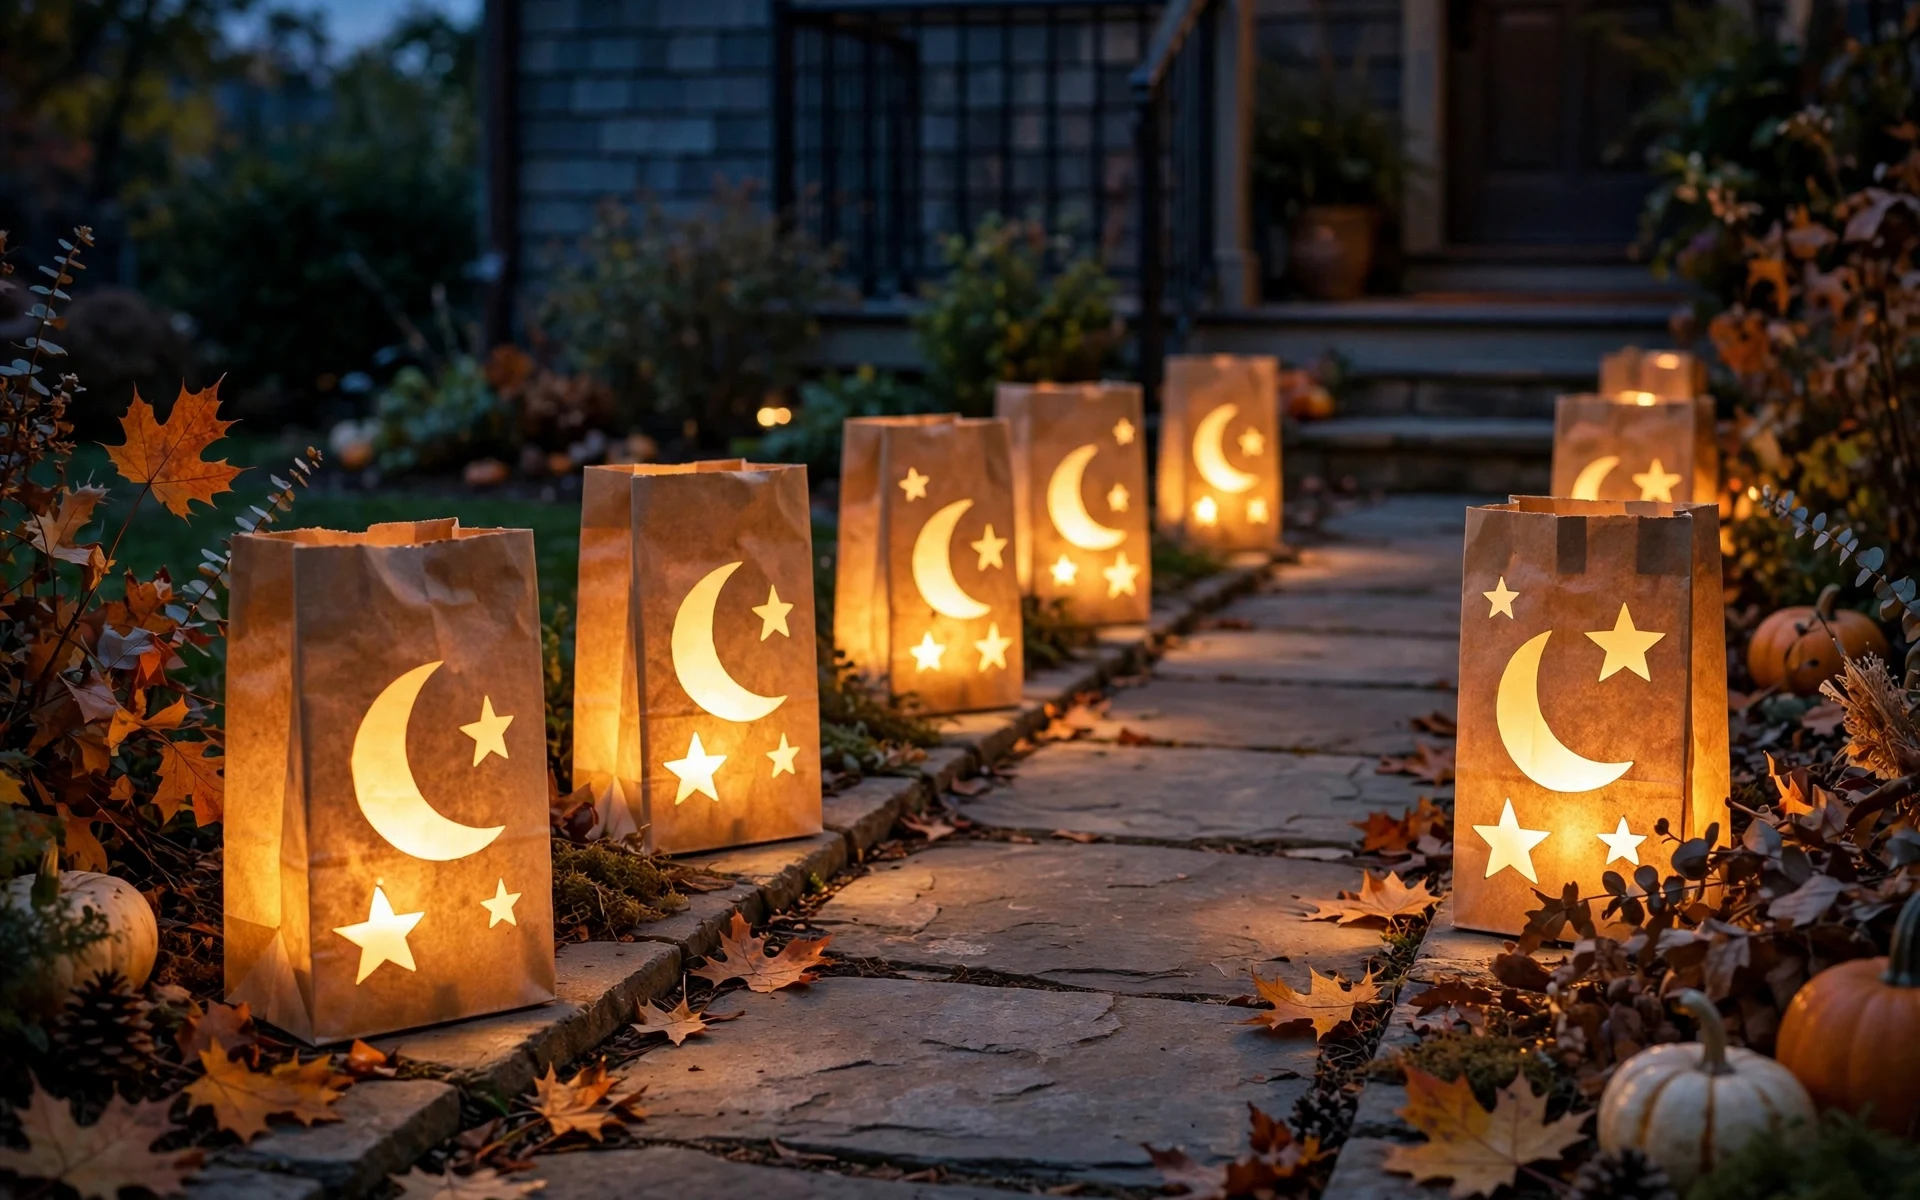
Plain brown or white lunch bags become a welcoming path in about twenty minutes. Fold the top of each bag down about two inches to give it a clean rim, punch or cut a simple moon, star, or pumpkin shape in the front, then add a cup of sand or a handful of gravel to weigh it down. Set a battery tea light inside each one — battery only, for safety — and space the bags about two feet apart along the walkway or porch steps. Make them on Halloween afternoon so wind and damp do not get to them first. Make two spare bags while you work, in case wind or a stepped-on corner claims one on the night.
A Last-Minute Table With a Sheet, Branches, and Candles
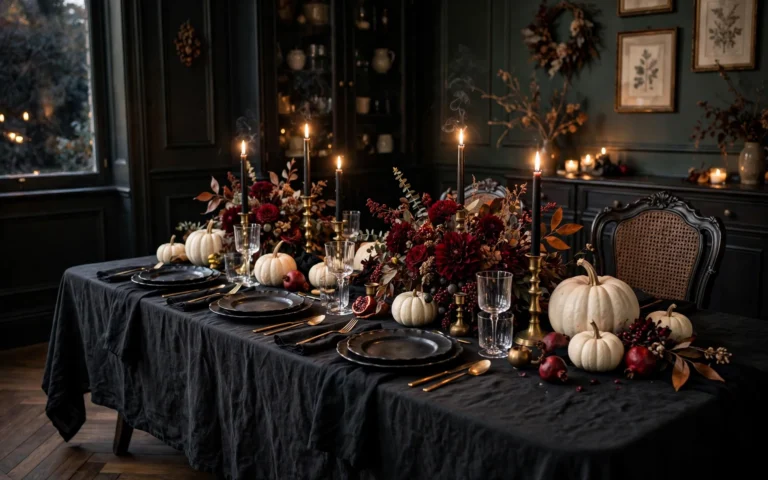
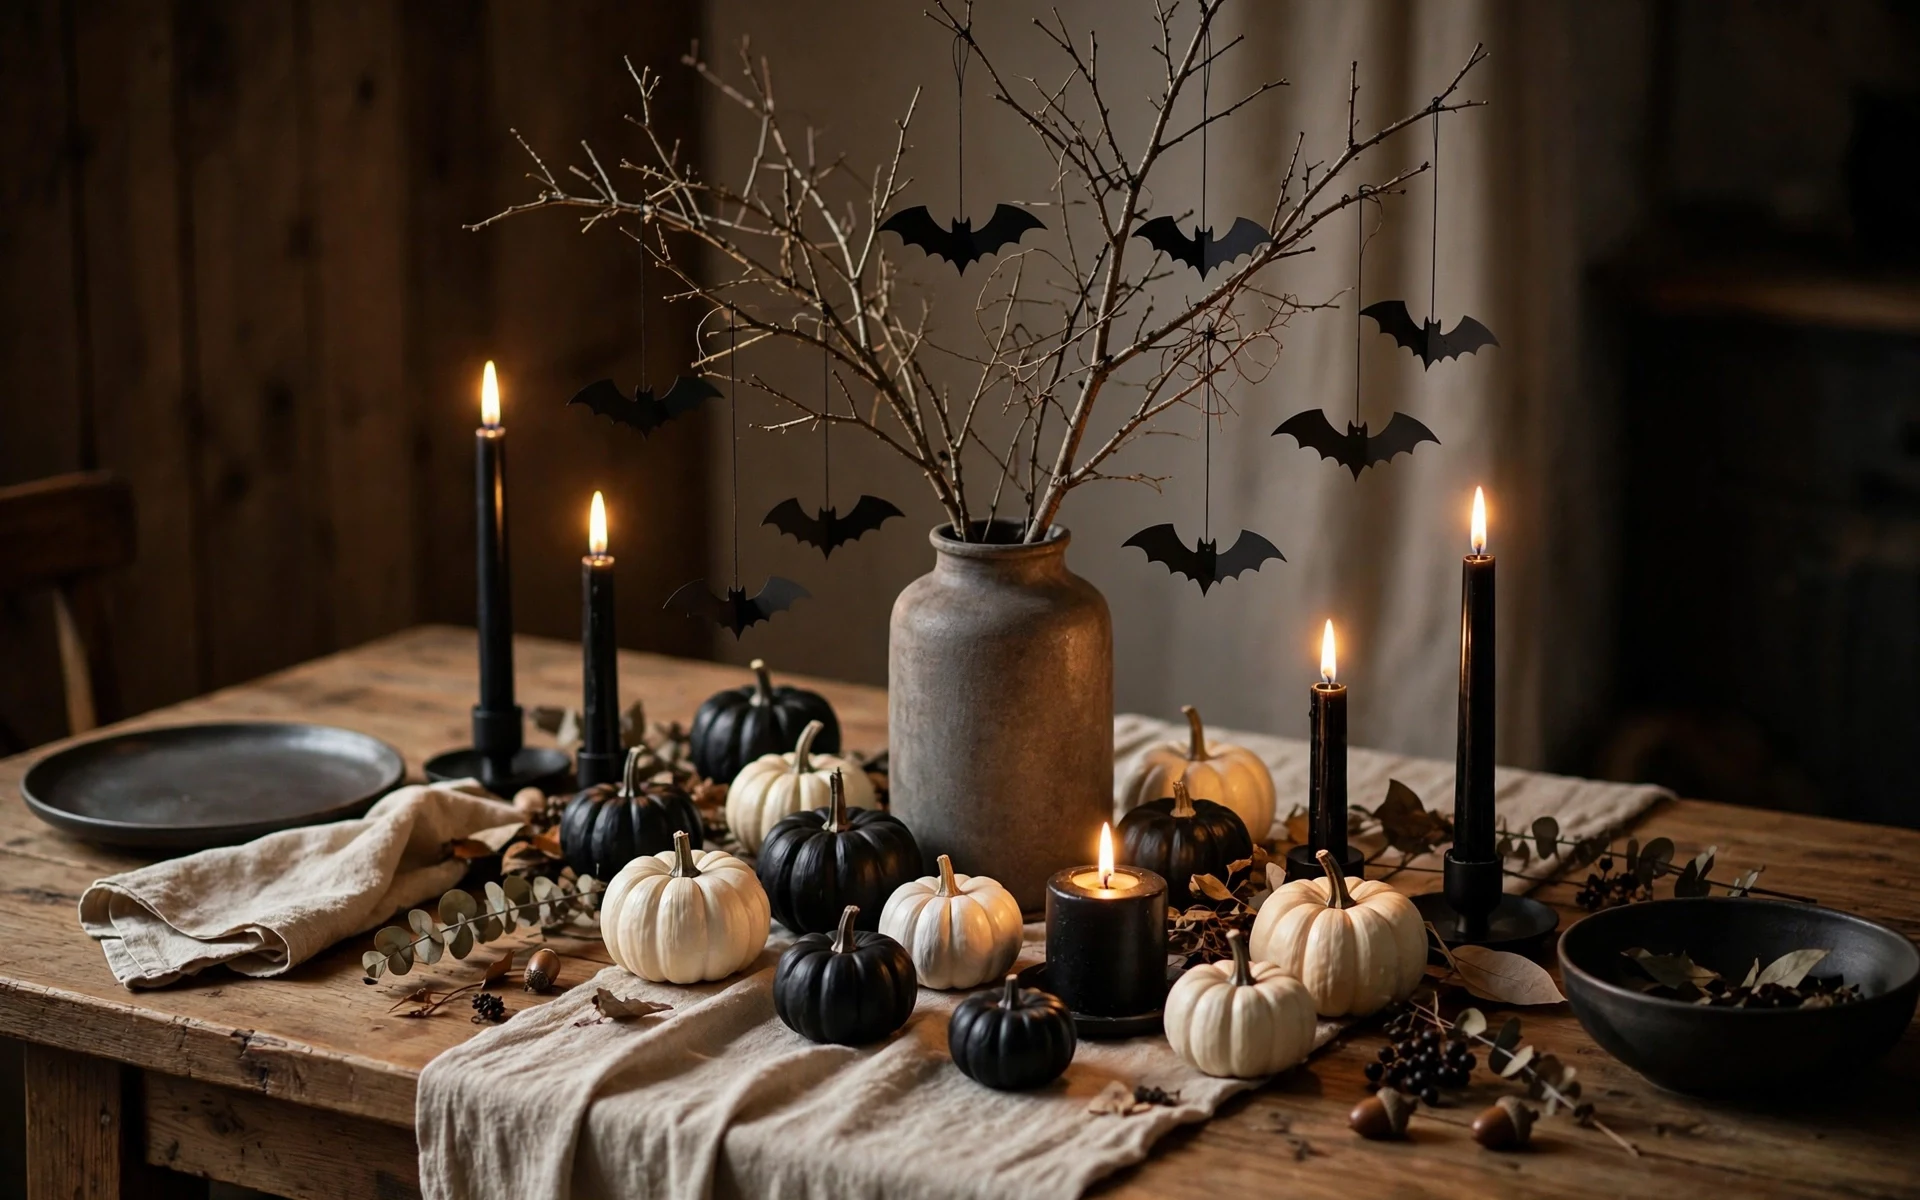
If guests are coming and the house still looks ordinary, this table takes under an hour. Cover the table with a plain white or black sheet or tablecloth, place a vase of bare branches in the center, and hang three small paper bats from the branches on thread. Run a row of black or orange candles — real ones in holders, kept away from the paper, or battery versions — down the middle, and scatter a few painted mini pumpkins between them. Dim the overhead light and let the candles do the work. If you are starting even later than this, these last-minute halloween ideas cover the fastest fixes room by room. Clear the table fully before you start; a clean base is what makes the quick styling look intentional.
Frequently Asked Questions
What are the cheapest diy halloween decor ideas to start with?
Paper bats, window silhouettes, and paper bag luminaries cost the least because they use paper, scissors, and battery tea lights. Most households already own everything needed for at least one of them.
How can I make DIY Halloween decor look tidy, not messy?
Pick one palette — black and white, or black, white, and orange — repeat it in every room, and group small items on trays or in clusters instead of spreading single pieces everywhere.
Are these projects safe around children and pets?
Use battery tea lights instead of real flames, keep small pieces like pom-poms and beads out of reach of toddlers, and hang paper shapes high enough that pets cannot pull them down.
How do I store handmade Halloween decorations?
Let painted and glued pieces dry fully, then pack them flat or upright in a labeled box with tissue between delicate items like cheesecloth ghosts. Store the box somewhere dry, off the floor.
Conclusion
A decorated Halloween house does not have to come from a store run. Start with one project that suits the supplies you already own — bats for a wall, lanterns for a windowsill, luminaries for the walk — then add one or two more if you have the time. Keep the palette simple, use battery lights, and pack everything away carefully so next October starts with a head start.
By Nestora Find